
If you would like to have a go at making one of these little beauties ( I know I will be :-) ) you can view, print or download Tessa's tutorial here.


 After trying unsuccessfully to cut a hole in some patterned paper to fit the window in the box, and several curse words later, I decided to outline the window with some gems. The colours of the Cosmo Nutmeg collection worked really well for vintage inspiration, and I used a picture from one of the paper sheets to back the cute window. Some bakers twine and a silk flower finished it off without going too over the top when I wanted it to be a functional box.
 I decided my dull pen pot could really do with brightening up! I painted the edges of the pot in
Fabi:
 I took the metal piece off the front so it was flat. I completely spray misted inside and covered in the wood look papers. (I love these)
 I now have somewhere to store my paints neatly.
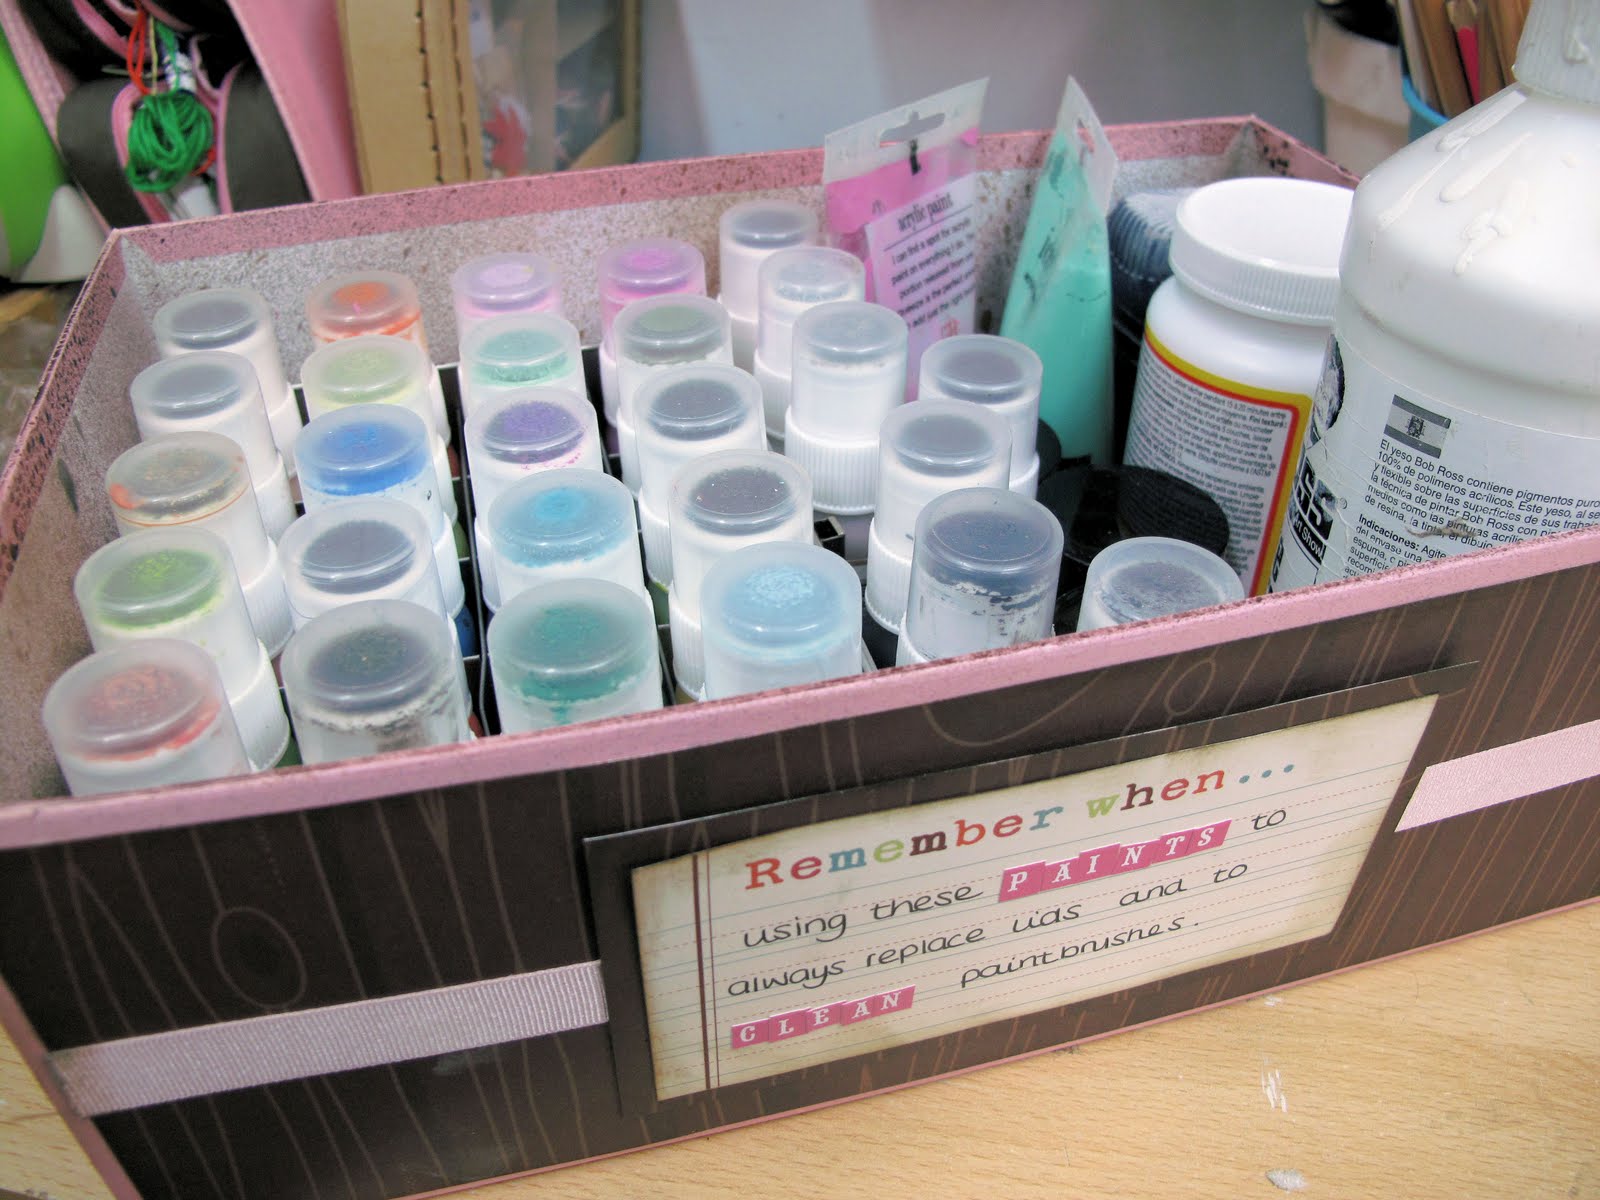 So, thanks to this weeks challenge, this area of my studio has gone from looking like this.
 To this : )
 Nic:
Nic:
When it comes to craft storage, I like items that allow me to see my stash as I am very much a 'use whats on my desk' type of scrapper. I love ribbon but don't use it enough so decided to make something I could place on my desk and which I could display some of my favourite pieces of ribbon upon.
I used the gorgeous cosmo cricket delovely papers to create a little bag and some circular ribbon spools. I strengthened the paper by painting it with paper mod podge and weighted the inside of the bag. I used three wooden skewers which I painted white - I've added a bottom row of spools with ribbon attached and the top without so you can see each full and empty, you could alter the length of the skewers depending upon how many spools you want to display. To finish I added a couple of embellishments to the front of the bag and a little tag. Hey presto, somewhere to store a few of my favourite ribbons.
Rebekah
 I used the cosmo cricket photo box and the 'delovely' range to make a little storage house for my coloured pens. The roof is made from folded scraps and the little birdy is hanging from the flower by a thread. Materials: Cosmo cricket blackboard photo box and 'delovely' range
Sara: I have this little box that sits on my desk, that odds and ends are dropped into when my layout is finished. A random button, the left over staples, the last little bit of ribbon etc. I had previously just left it plain but saw this challenge as the perfect opportunity to spruce it up a bit. The papers and alphas are Cosmo Cricket, the flower, scalloped sticker and string are from my stash.

 I love making these boxes and use a lot of them in my scrap space as a temporary (and sometimes permanent) holder for the little pieces that I have. And I must admit, as a scrapper who loves details and not throwing away too much, I have LOADS of little pieces. Each box is made with a 12x12 sheet of patterned paper and holds loads of things - even my frequently used acrylic stamps.


To make the interior pages, I made a simple text box with the ink name and color in MS Word. I fit 5 boxes on an 8 1/2" x 11" page then printed them on white cardstock. Then I got to work coloring each one with my ink blending tool and a little bit of water splatter technique, just to keep it interesting. (It was great ink practice!) The album cover, cut from a piece of chipboard and covered with Cosmo Cricket "DeLovely" paper, is 6" x 2 1/4". The interior pages are 5 3/4" x 1 3/4".
You could customize this selector by putting your ink samples on your go-to cardstock colors. I tend to use a lot of light colors so I used white, but a kraft selector would be handy, too. I'll add it to my to-do list!
Materials: Patterned cardstock, die cut flower, numbers: Cosmo Cricket (DeLovely); cardstock: Close To My Heart; letter stickers: Making Memories; felt button: craft supply
We're looking forward to seeing what you come up with. Our sponsors again this month are Cosmo Cricket and in addition to being in with a chance of winning the monthly prize of a collection pack, by uploading your link to the side bar you could win two Cosmo Cricket Blackboard boxes (two sizes). Enjoy the challenge :)


 As soon as I saw this challenge, I knew that I wanted to re-create the looking of water/bubbles in some way. I think that I was able to do this by using different sizes of coins . . . I used some dimes, nickels and quarters as well as a light turquoise smooch spray and a dark sapphire blue glimmer mist! It was soo fun. I also added various rub-ons, thickers, prima flower centers, some pearl bling, and some clear pebble stickers. I also added some pearl glimmer mist to my two die cut butterflies! Thanks for looking!
 Anna:
Anna: 
Fabi:  I love mist, in all ways...and always looking for stuff i can use as templates. For this one, Ive made some littles flags of paper and used then as masks, the same with the arrow. Then used them all in the project.
The round with lots of dots effect, you'd never believe what it is...is one of those old household stuff you use to wash rice lol. Im not sure if you ever have them out of Brasil, anyway....this effect is from its bottom!  Here a sneak (above) of my cute flower...mounted from a K&Company kit, several pieces of fabric so you can play and create yout own flower, and the detail of the round mist with the rice washer.
  This other sneak you can see better the cool effect. I have used 2 colours of glimmer mist, to reach this blue-green-yellowish look :)


I really enjoyed this challenge as I love getting messy with paints, inks etc and lots of splattering went on for this LO! I made my own template from some punch offcuts left over from another project and sprayed several different glimmer mists and some smooch spritz very liberally!
Rebekah:
 I used a knife to get the wave line splitting the page up. I couldn't fit it in the pizza box though so my desk is now mottled again :) The first of many engagment LOs!


